Hey all! As usual, I am coming in on the tail end of this month's project, but I did finish my bag. I'm really blown away by everyone's bags thus far! It's been truly inspiring seeing all.
The mini-brief:
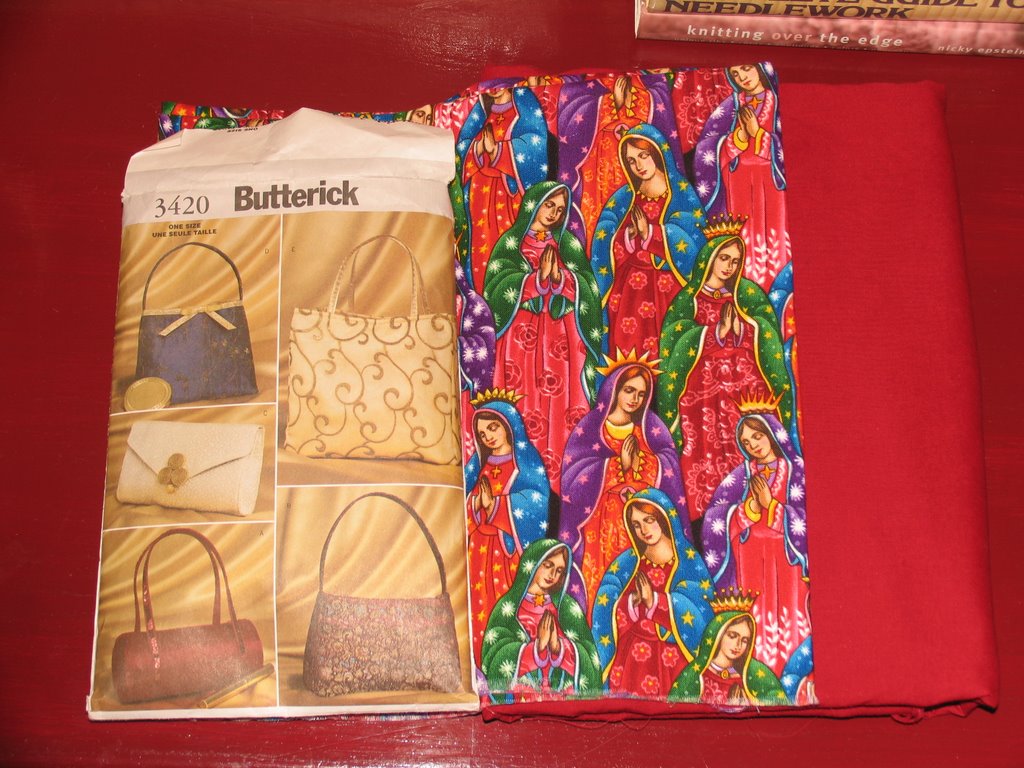
My first choice was to use an Amy Butler pattern, but I didn't have all the called-for materials on hand and really wanted to use what I had in stash. I also wanted to make my bag in fabric the colors of this month's
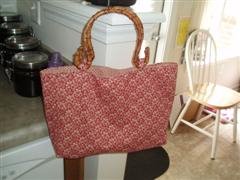
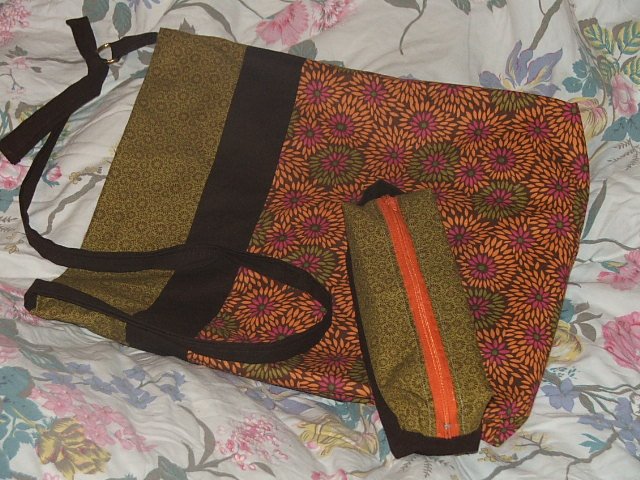
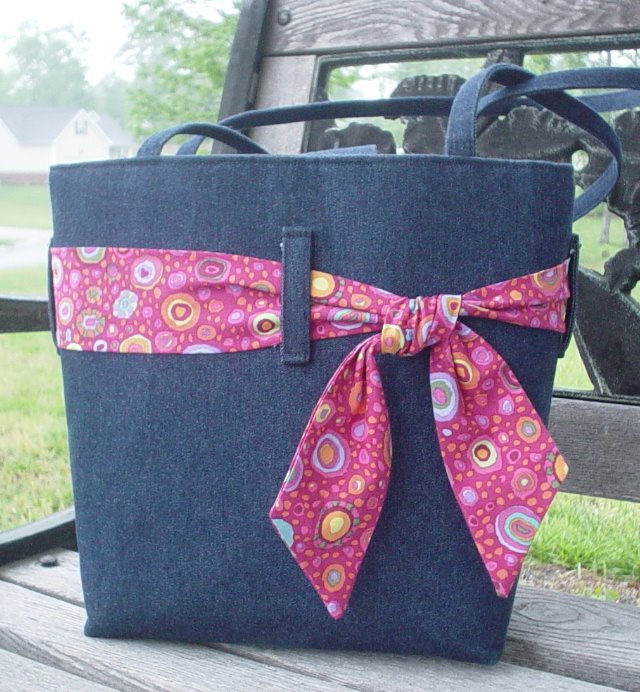
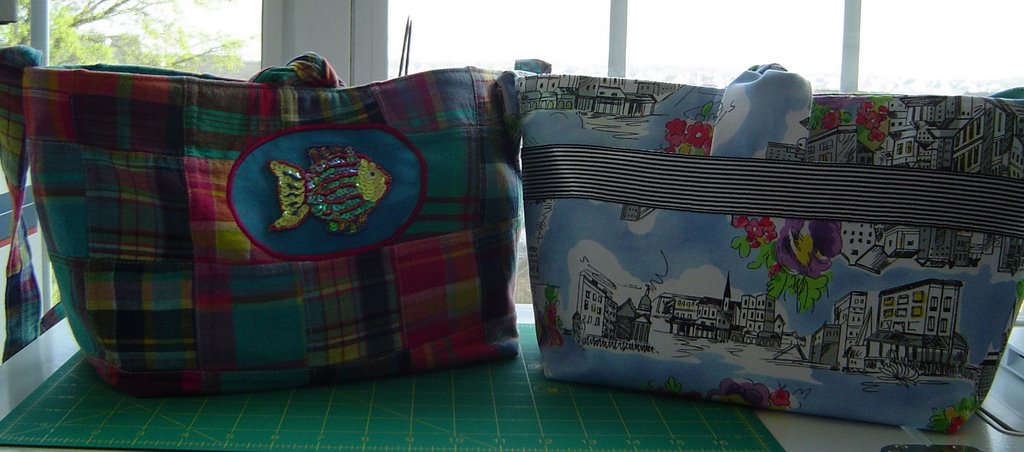
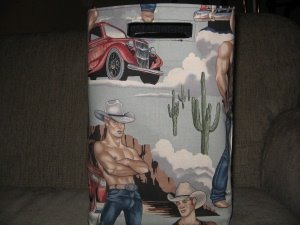
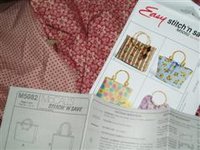
Project Spectrum (2 birds, 1 stone)....ie Orange. So I went with orange-hued fabric I had bought last month, including an orange men's shirt I thrifted a while back, & picked pattern #6574 by NEW LOOK, choosing bag style D (with some mods):

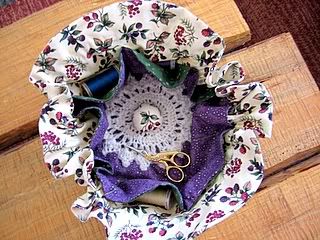
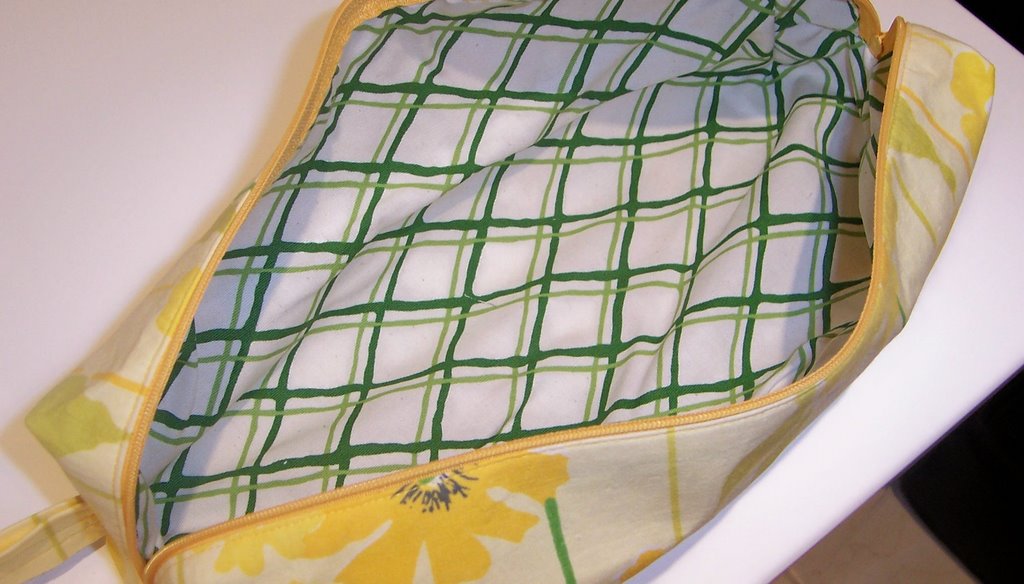
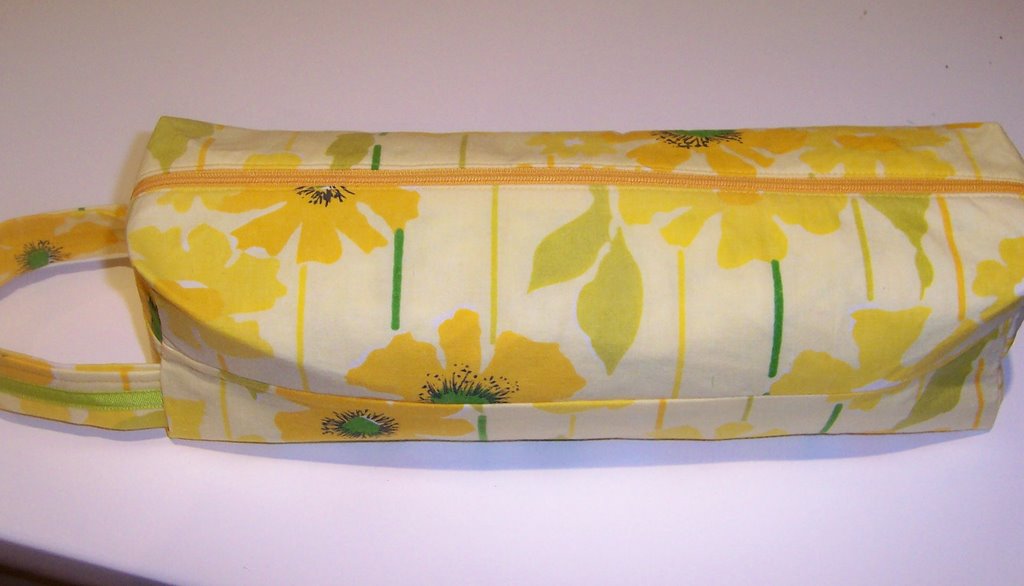
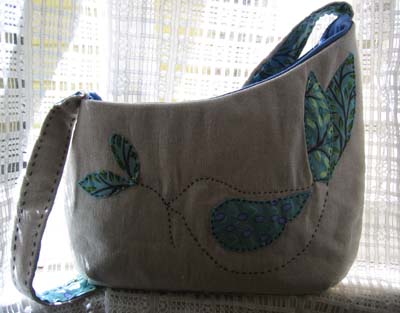
The striped fabric went for the outside body of the bag, the orange shirt was used for the lining, and the sewing-themed fabric was used as the
bottom & pockets of the bag. All went fairly smoothly, as I was able to complete it in one day, start to finish (deadlines, you know!):
 Modifications:
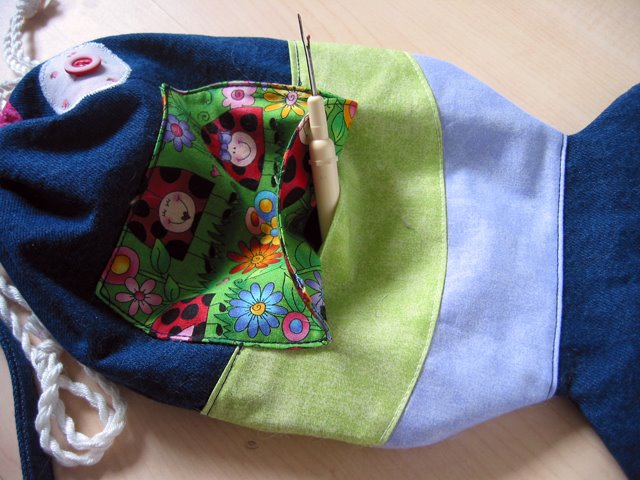
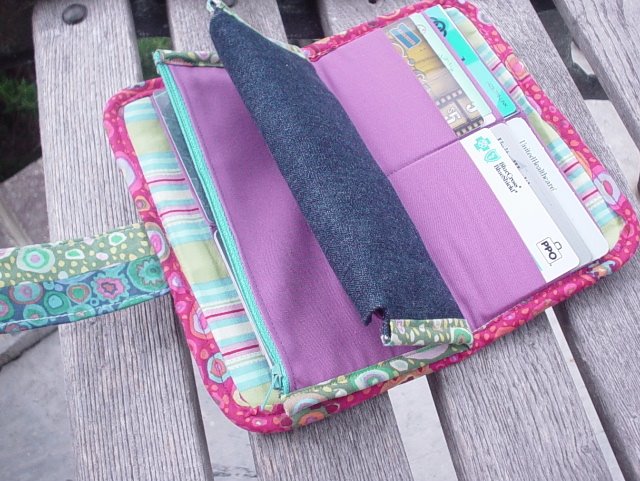
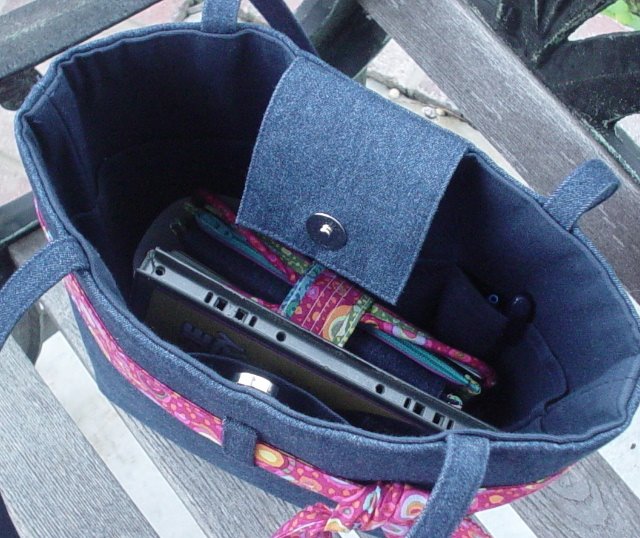
 I added the pockets, following the directions for the larger tote bag, and I split the pocket in half on the inside pocket to hold things such as knitting needles. I also used some
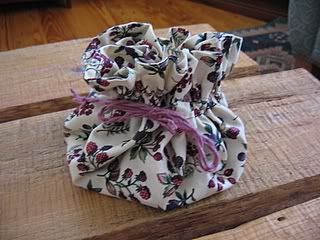
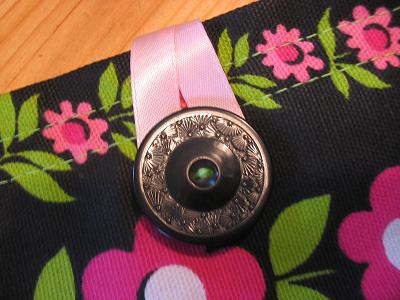
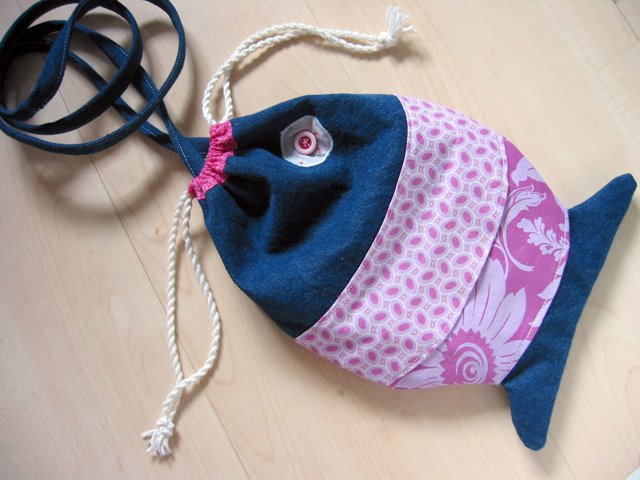
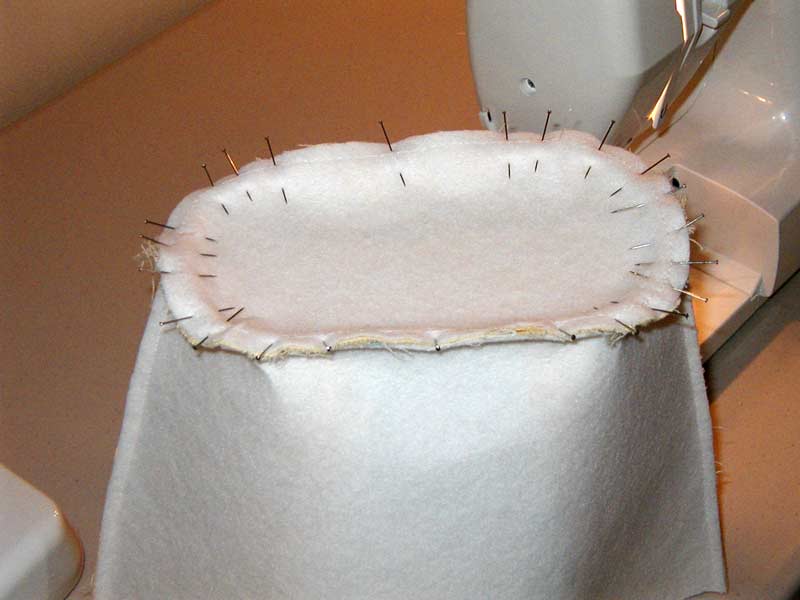
cute polka-dotted ribbon to "hide" the inside raw edges of the bottom, instead of double-folded seam binding that the pattern called for, which I had none on hand. It worked pretty well. AND...I made a matching flower brooch, courtesy of the amazing
Wise Craft, which I can remove (& thus wear on my shirt/jacket so I can match my bag...oh boy!), plus covered the piece of cardboard with matching fabric that you insert inside to strengthen the bottom (apparently it's removable, which I don't really care for).
My major/minor qualms: I have not had a lot of experience using fusible interfacing. Things went remarkably well until after the whole thing was completed. It looked great! It was smooth, polished looking, and then I did a baaaad thing: I tried to iron it again. Opps. It seemed to have made the interfacing tend to wrinkle. Now it just looks okay, not so smooth, definitely not so polished. I will not do that again, if I use this stuff in the future! Ugh. Also, it would have been best to use a heavier weight cotton (mine was light) for this type of bag, plus possibly heavier interfacing.
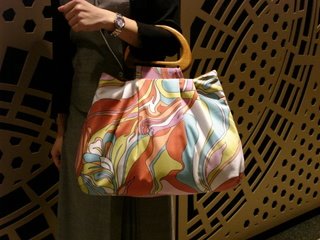
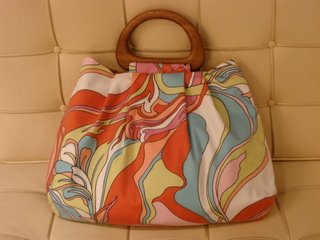
All-in-all, it looks like Spring-time
fun to me....now the loudest, cheeriest bag I own!
More details about this project on
my blog.
NOW....ready for sewing project number 3! Yay!
Anjo

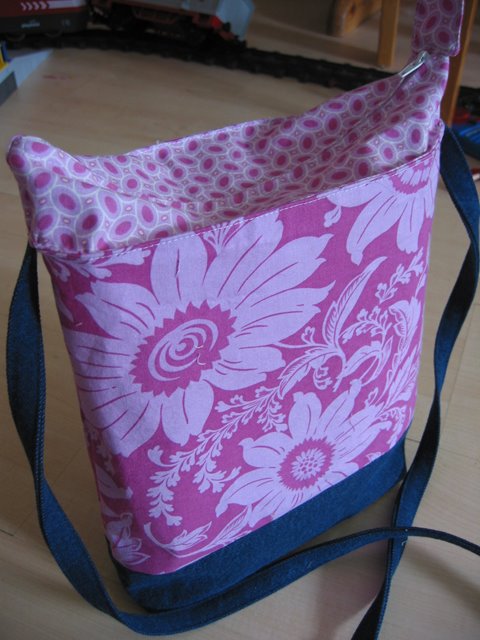
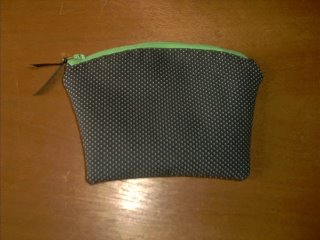
 While the inside... well...
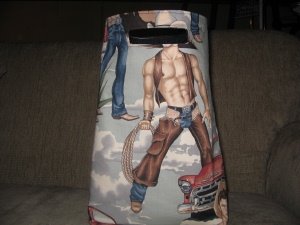


 I am proud to say I finished this on time this month! And to whomever thought of making a bag this month, THANK YOU!!!